Archive for March, 2010
Designing the Enclosure
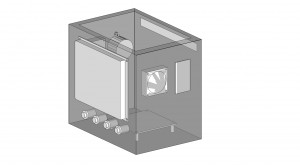
We recruited master woodworker Marc Gaertner to design the enclosure for our device. The challenge was providing exact specs from 300 miles away. In order to communicate our vision, we used Google Sketchup to model the clock as we envisioned it looking. Every component was modeled to exact dimensions, every drill hole and cutout needed to be precise to fit. This let us convert the model to 2D perspectives with measurement lines, which could be followed as plans for the construction.
User Interface
Designing the user interface turned out to be a bigger challenge than we initially expected. It became clear that this system we had developed would be useless without an easy to use front-end interface to access everything. We carefully thought out the software architecture, separating the system into button and lcd interfaces, and a UI class to handle the menu structuring. The end result came out fantastic, both reliable, and very easy to modify. This would let us later focus on tweaking the user experience, without spending considerable time modifying code to do each adjustment.
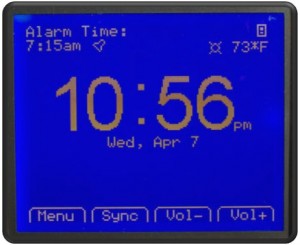
We provided the user with a main home screen filled with all the most important information and tasks. This included the next alarm time and type, currently playing media, weather, temperature, current time in an extra large font, and buttons to force a manual sync to the web and adjust volume. Diving into the menus we created hierarchies to control audio, manage the alarm, control X10, and change system settings such as display brightness.
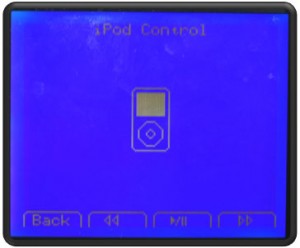
We also found a neat program called Bitmap2LCD, which let us draw larger graphics and have them be converted to hex streams, saving us considerable time. Albeit very buggy, it got the job done. The iPod control screen with a graphic designed in the software is shown below. The enclosure has four physical buttons below the LCD, corresponding with the bottom tabs.
PCB Arrives
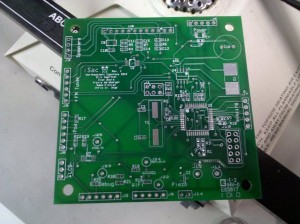
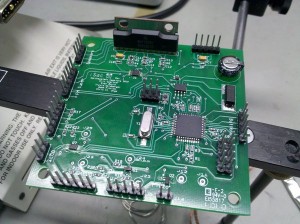
About a week later the boards arrived, ready to be built up. All our pad geometries were spot on, and all the parts we needed made it into the DigiKey order. A few hours of soldering later, and we had a working board. After connecting 5V and a programmer, we were running full speed ahead, no modifications needed!
